Introduction
On real-world projects, the list of materials can grow quickly, making it hard to find the ones you need. The Material Class helps solve this by grouping materials into practical categories such as Concrete, Glass and Masonry. The Class parameter is found in the Identity Data tab of each material and can be used to filter large lists of materials in the Revit materials browser. Revit’s default templates include 21 common material classes, but you can also create your own.
Classes in the Library
The Class is the primary way materials are organized in your library. When you upload a material to the library, the Class is extracted from the Identity Data. You can then change it through any material listing or the material’s item page.Creating classes
As you add new materials to the library, classes extracted from their Identity Data will appear in the classes list.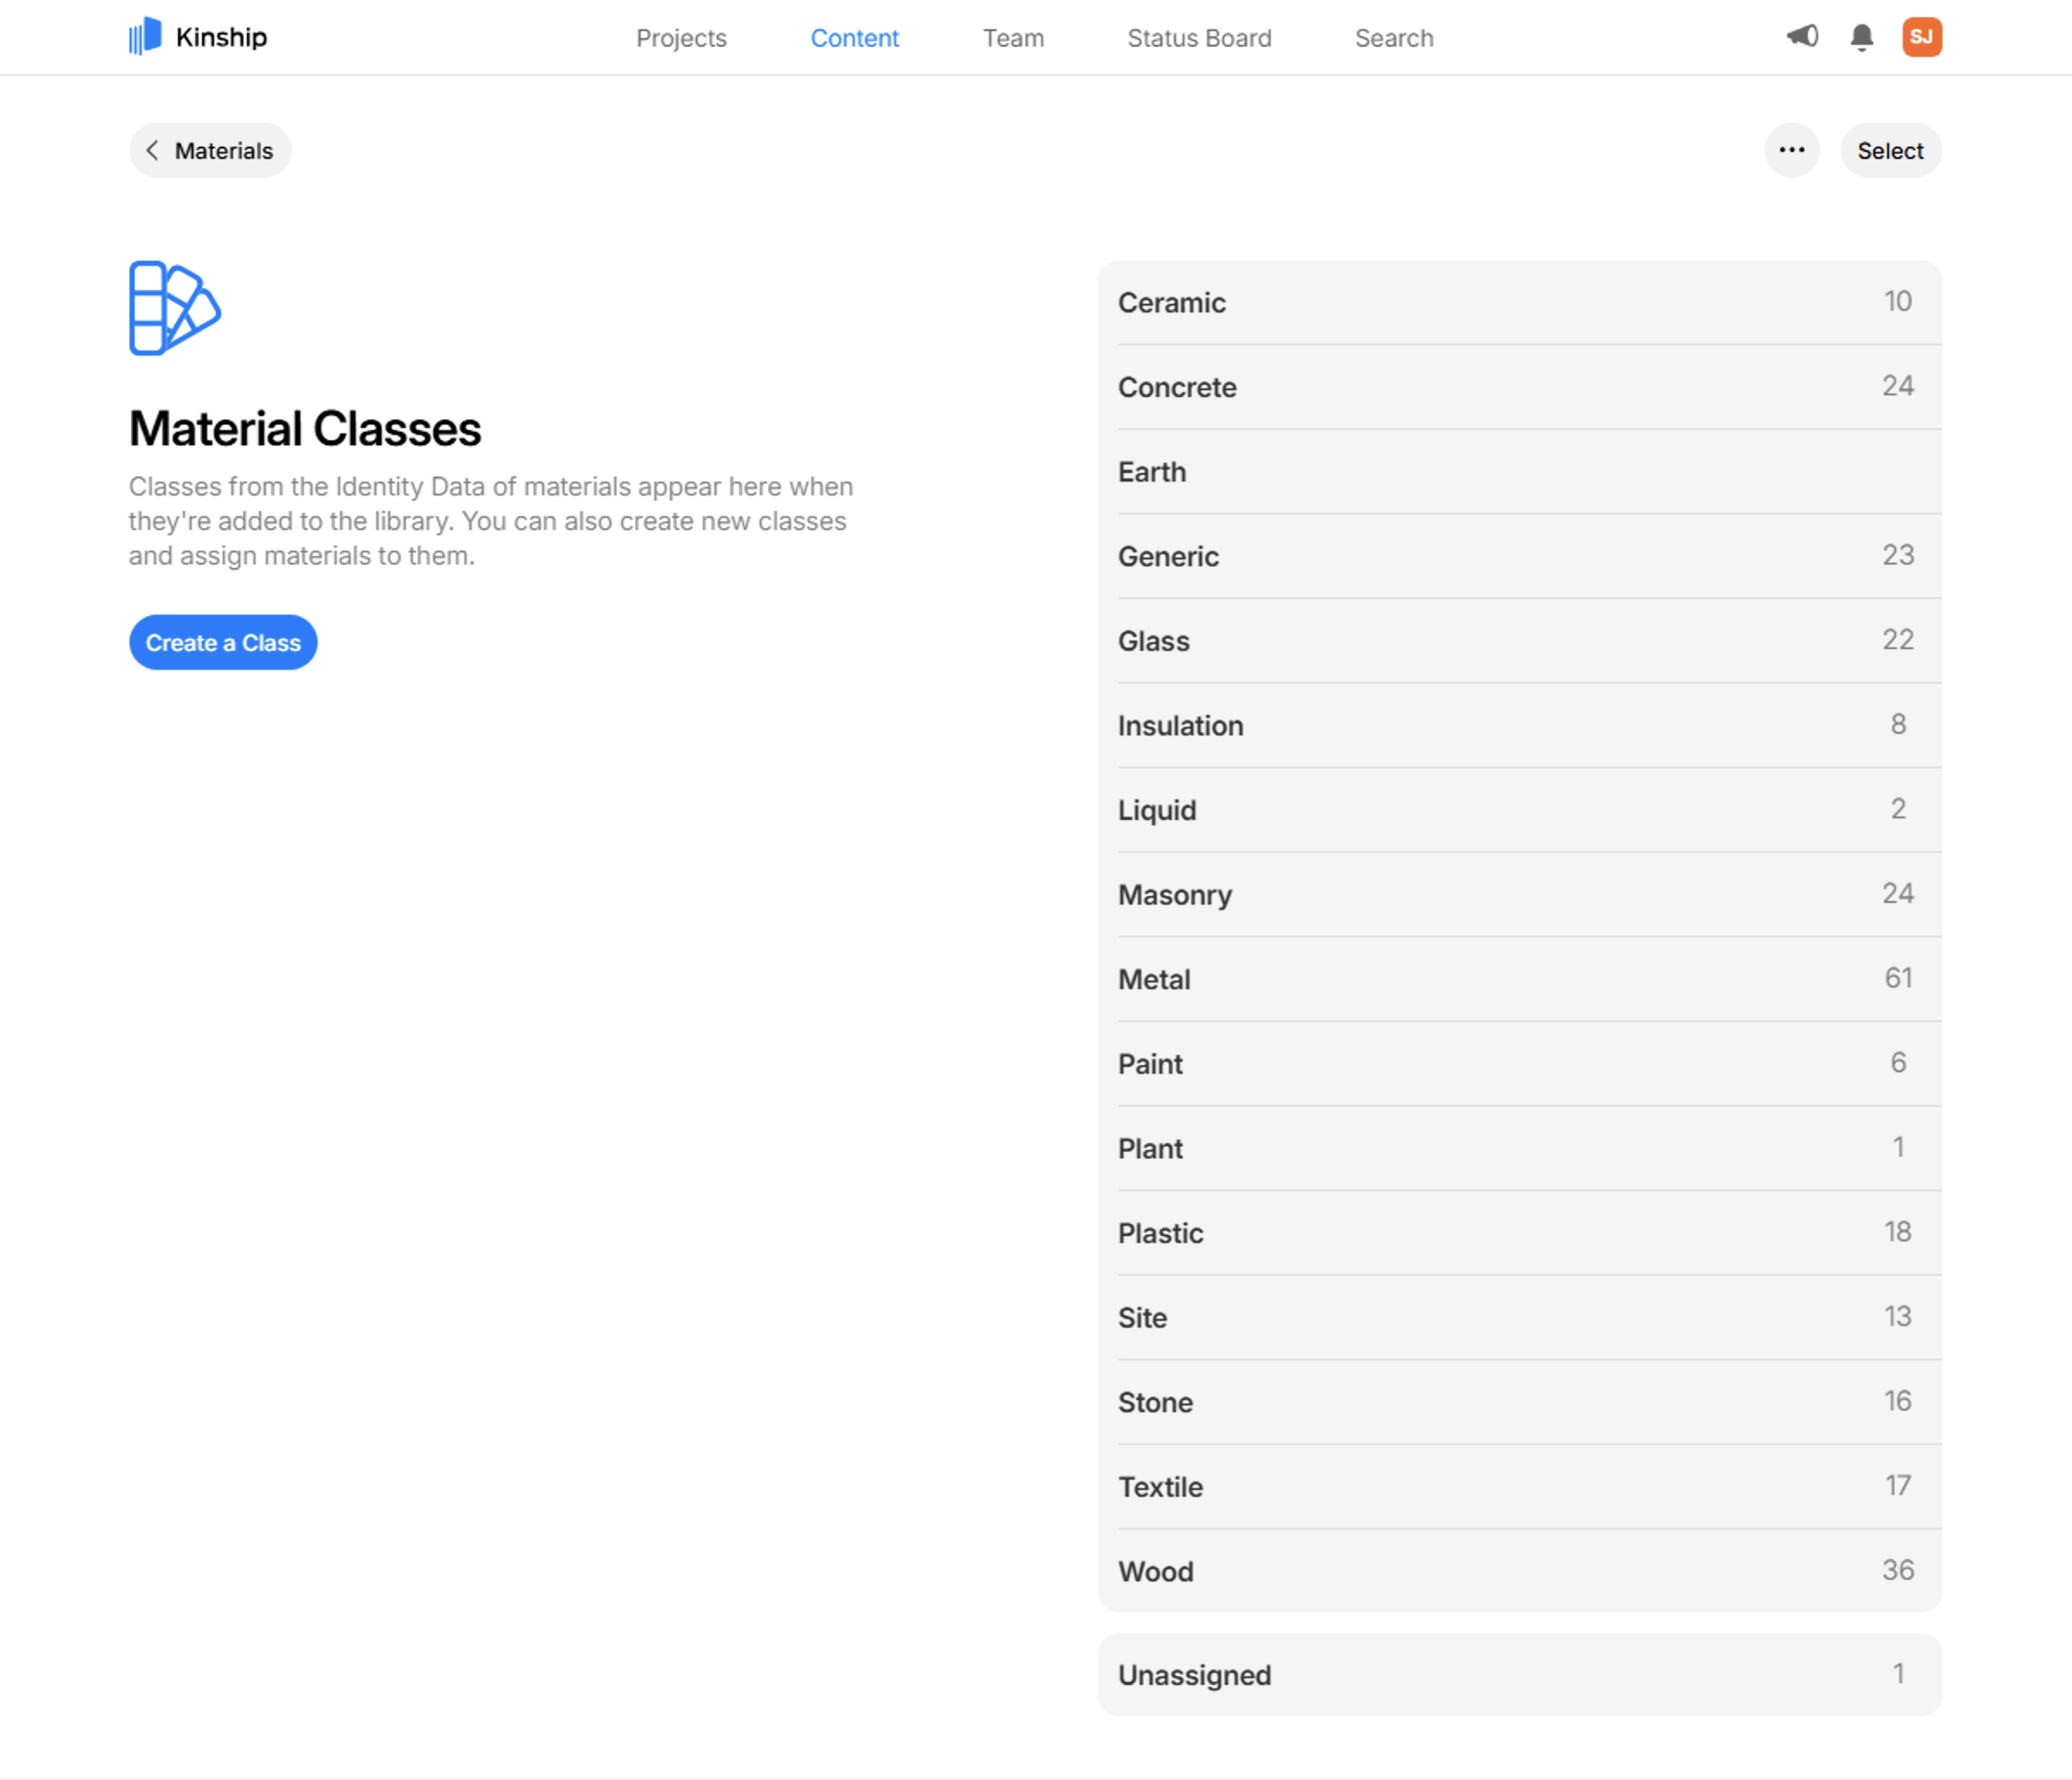
Merging classes
Administrators can merge classes to combine the materials from multiple classes into a single Class. To do this:- Click the Select button to enable selecting classes
- Select two or more classes you want to merge
- Click Merge
- In the dialog, select whether you want to merge the materials into one of the selected classes, or create a new Class to merge into.
The other classes will be deleted once the merge is complete.
Deleting classes
Administrators can delete classes that are no longer needed. To do this for a single Class:-
Select the
 button next to the Class
- Click Delete
- Select whether you want to delete the materials it contains, or move them to another Class.
- Click the Select button to enable selecting classes
- Select two or more classes you want to delete
- Click Delete
Unassigned materials
Materials that are added to the library from Revit with a blank Class parameter will be designated to the Unassigned class. Materials in the Unassigned class can be re-assigned to any other class by administrators.Recommendations for classes
Adapt the use of classes to major categories of materials used by your team. Classes should generally be grouped by the material type, e.g Concrete, Glass and Wood. To further categorize materials, e.g. sector (commercial, residential), lists may be more appropriate - however there are no fixed rules and you can configure classes to suit your needs.Learn more
Materials Overview
Understand how to build, organize, and search within your library of Revit materials.
Managing Materials
Learn how to manage materials in your library, including bulk actions, editing material properties, and organizing your content.
Material Item Page
Learn about the rich information provided for each material and how to use it to inform selection and comparison.
Appearance Asset Types
Learn about appearance asset types in Revit materials and how they’re organized in Kinship.