- From the website – Add content from existing sources in your team, such as your library, tracked models, or other collections.
- From Revit – Add content directly from a network or local drive or from a model you have open in Revit using the add-in.
When you add content from an existing source, you create a new copy of that content within the collection. If you later modify the original source content, this will NOT modify the content within the collection.
Adding content from the website
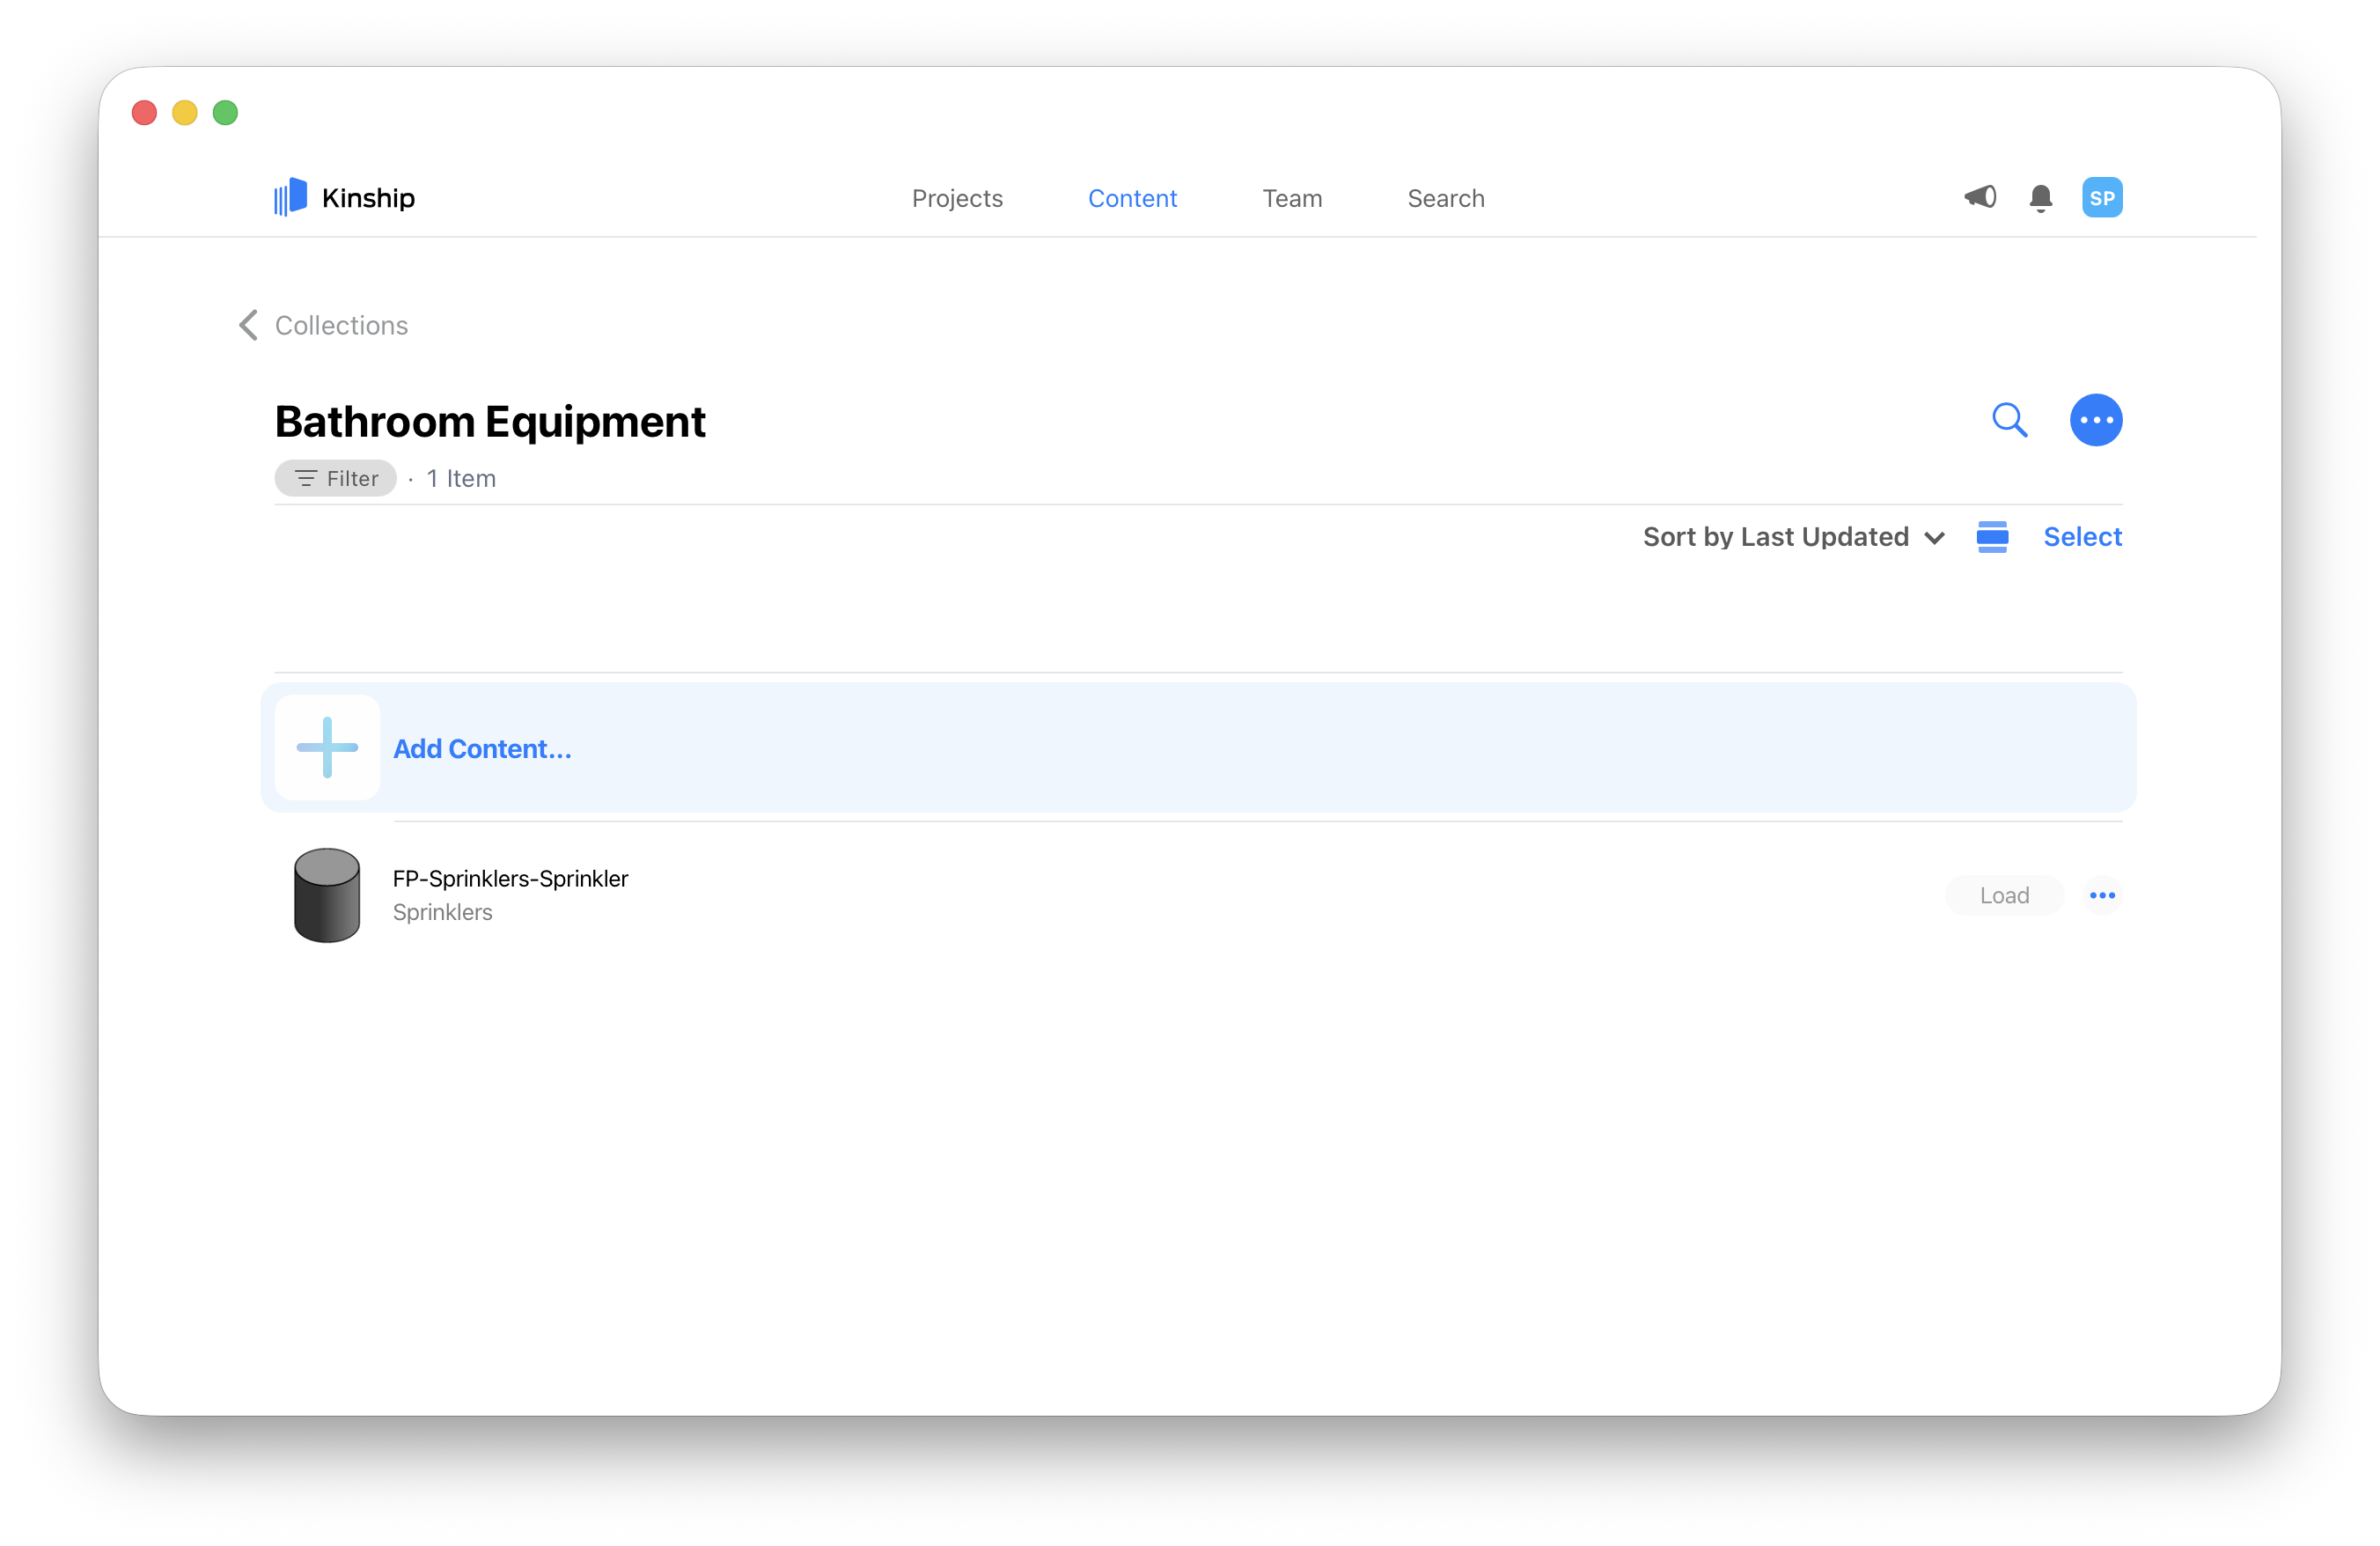
Use the website to add content from an existing source in your Kinship team, such as your library, tracked models, or even other collections.- Click on the collection to view its Contents page.
- Click on Add content… at the top of the list of items.
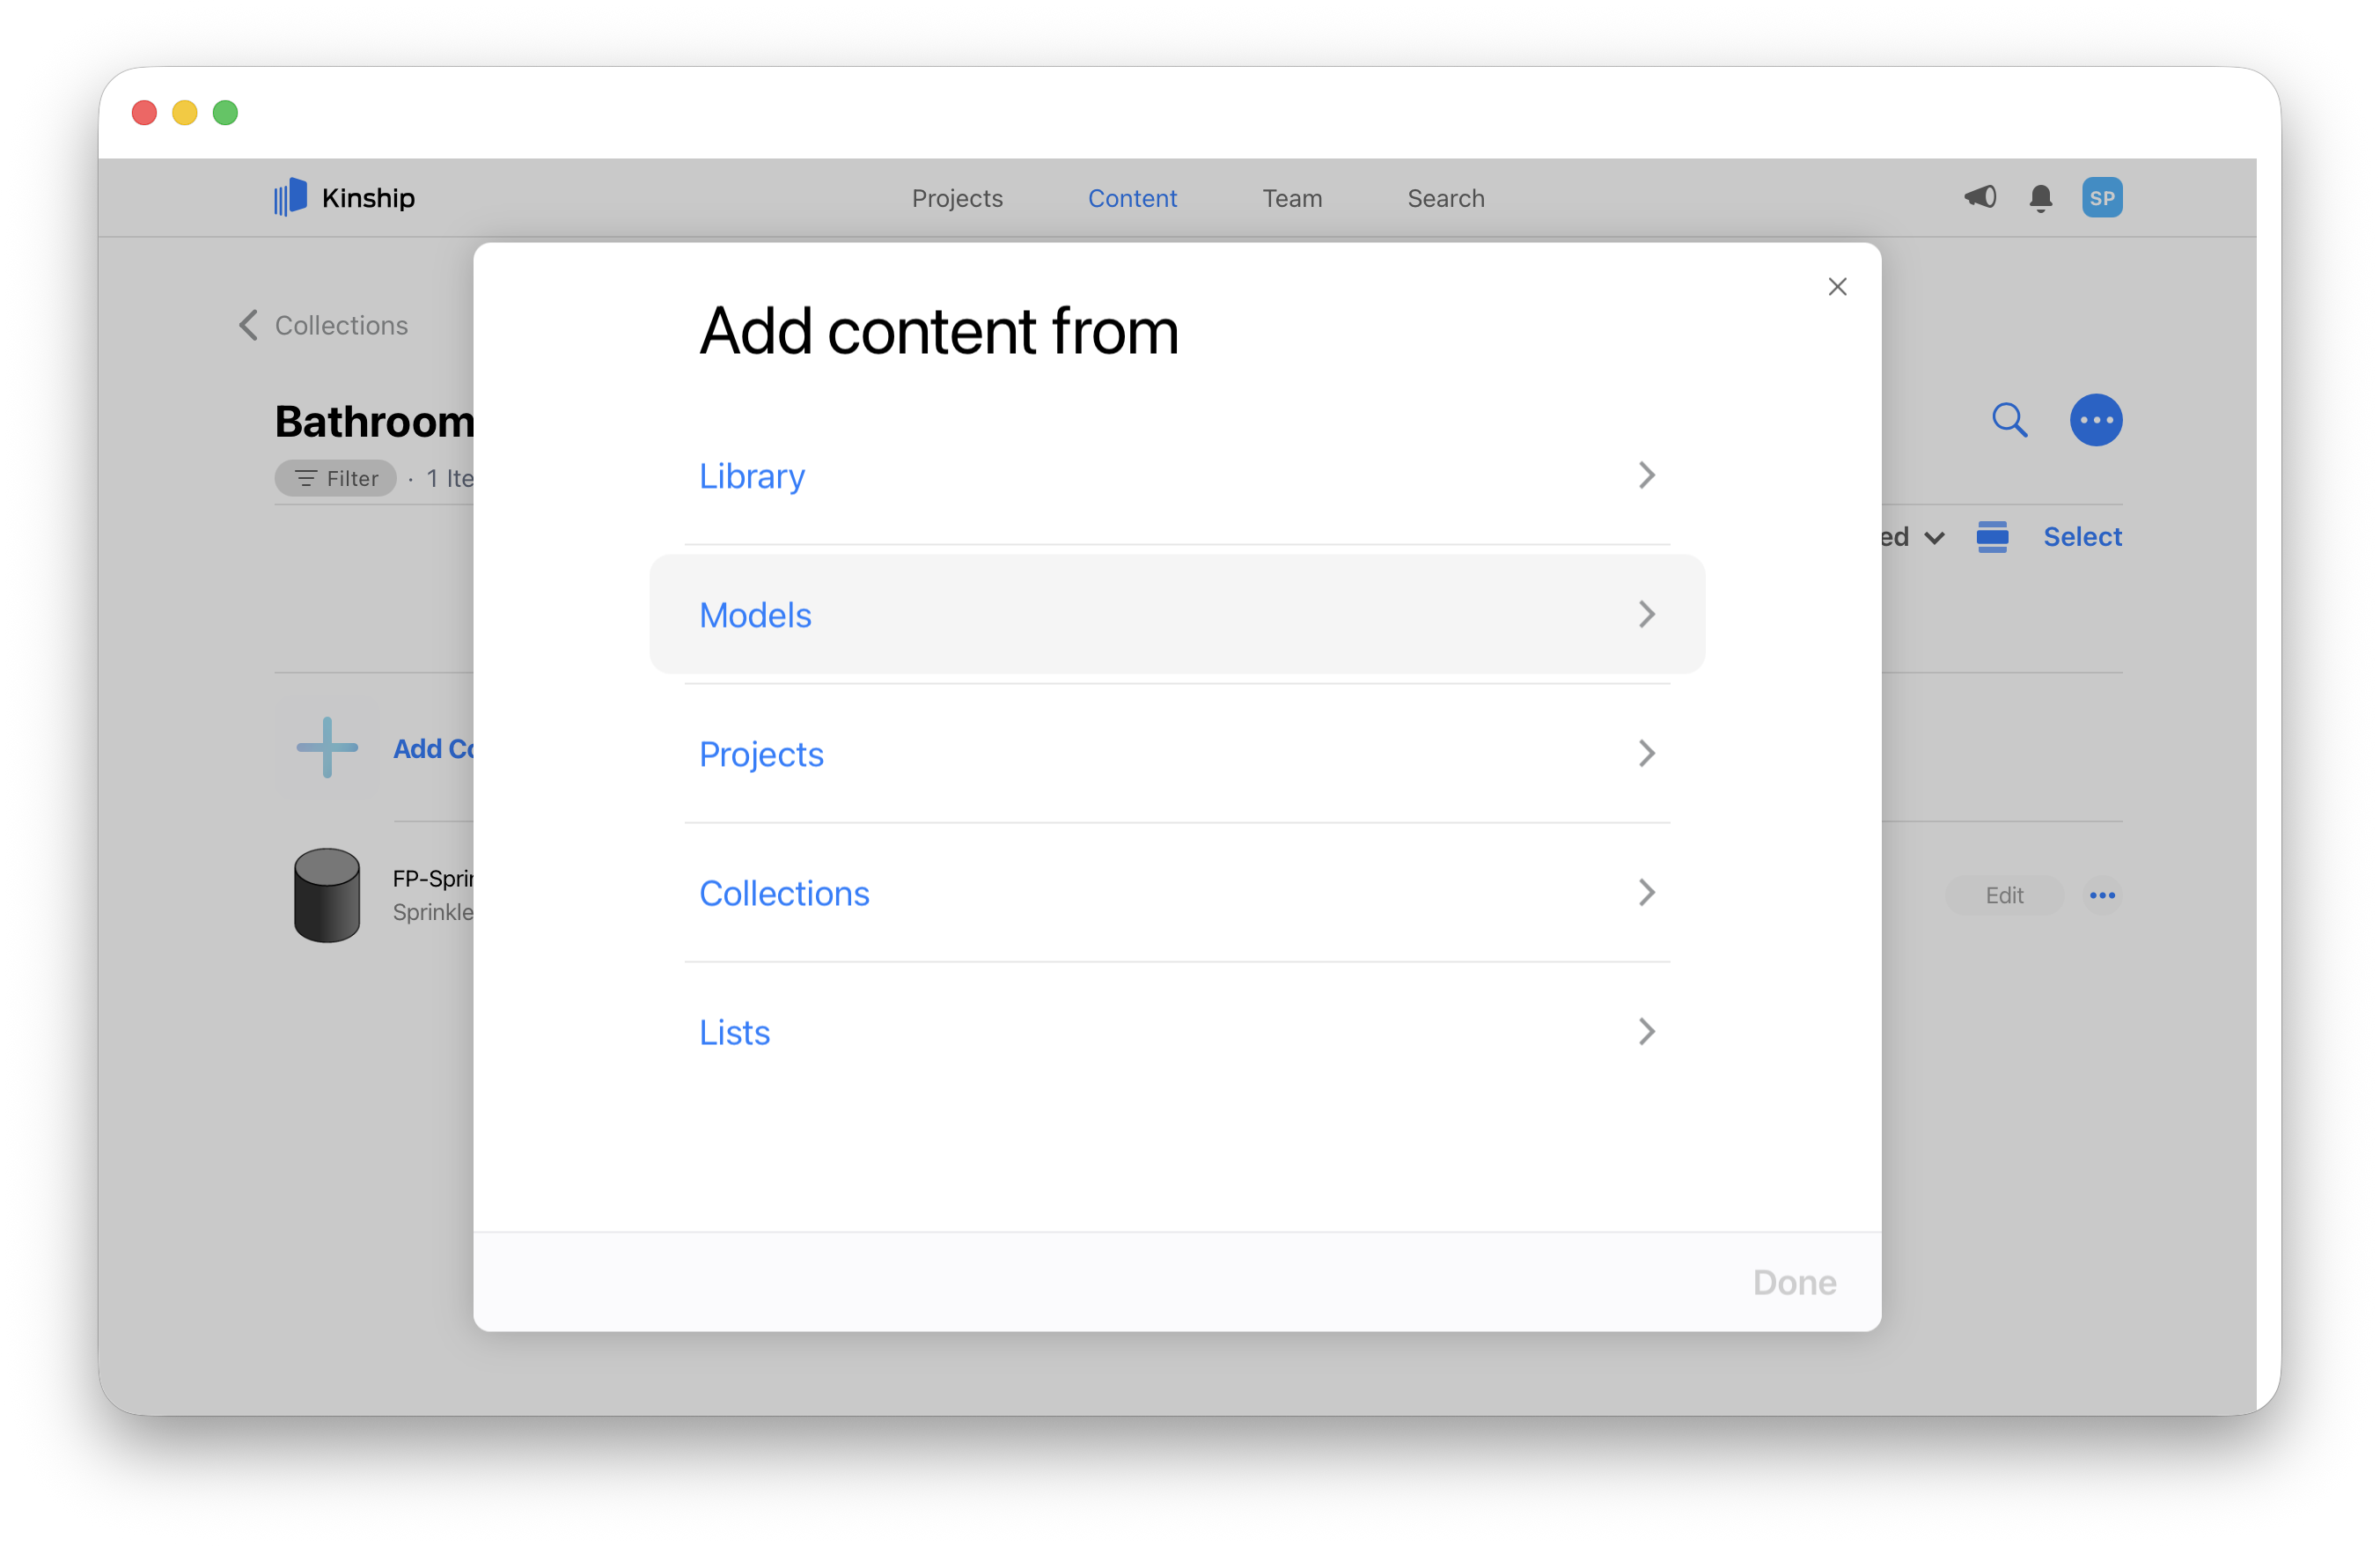
- A menu will appear with options for Library, Models, Projects, and Collections.
- Clicking on Library will take you to a list of your library items.
- Clicking on the other sources will take you to a list of available models, projects, or collections. Click on any model, project, or collection to see its list of items.
- Click on an item to toggle selection on and off. Multiple items can be selected from one or multiple sources.
- When you’ve finished selecting all of the content you wish to add, click Done to add the selected content to the collection and return to the collection’s Contents page.
If one or more of the selected items have the same name and size as an existing item in the collection, a screen will appear asking you to confirm your desired action.
Adding content from Revit
Use the add-in to add content to a collection from a network or local drive or from a model you have open in Revit.- Click on the Add-Ins tab in Revit.
- In the Kinship add-in panel, click on the Add to Collection dropdown menu.
-
You can choose from the following options:
- Current Selection – Any items you’ve selected in your active view or from the Revit project browser. If nothing is selected, this option will be greyed out.
To add a model or detail group, use this option and ensure that the group is the currently selected element in Revit.- Current Model’s Families – All items in the model that is currently open in your active window. If no model is open in your active window, this option will be greyed out.
- Files – One or more .RFAs selected from your file system.
- Folder – All items from a folder selected from your file system. This option will also upload items from any sub-folders within the selected folder. Non-family files (those not ending in .rfa) will be ignored.
- Family Editor Family – A family that you have open in the family editor. This option only appears when the family editor is your active window.
- Active View – A drafting view, a sheet, a legend or a schedule that you have open. This option only appears when a drafting view, a sheet, a legend or a schedule is your active window.
-
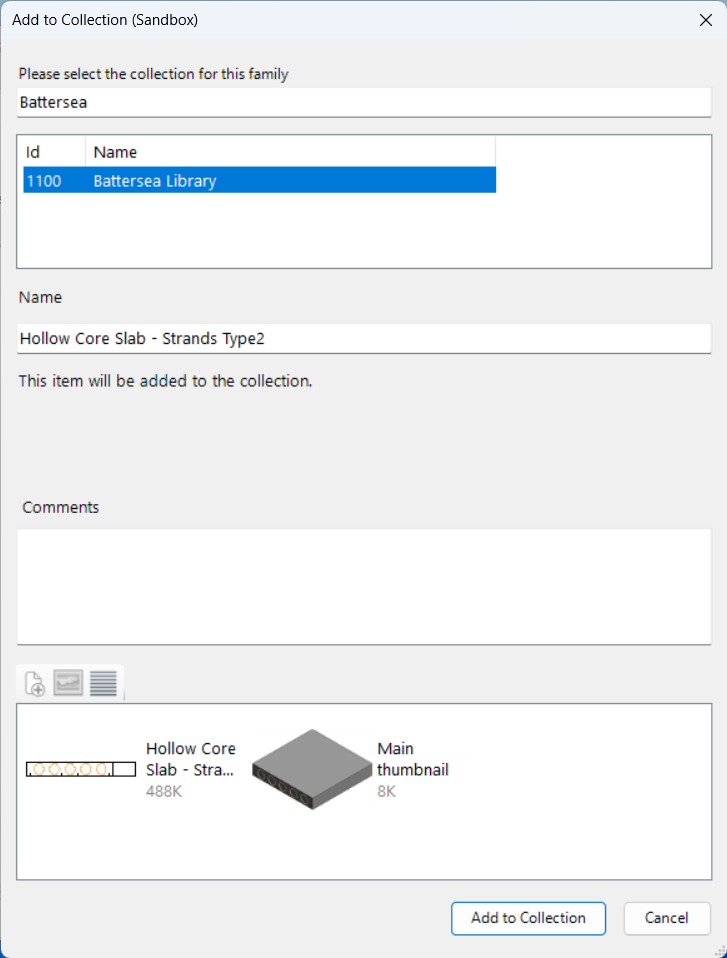
A dialog appears to select the collection.
- If you’ve already uploaded content to a collection in your current Revit session, the dialog will pre-populate with the previously selected collection. To see other available collections, clear the text that shows under Please select the collection for this item.
- If uploading an individual item, the dialog will include options to edit the family name or add a comment before uploading.
when uploading existing multiple items, existing families will be updated with the new version, and new families will be added to the collection. -
Click Upload at the bottom of the dialog to begin uploading the content to your selected collection.
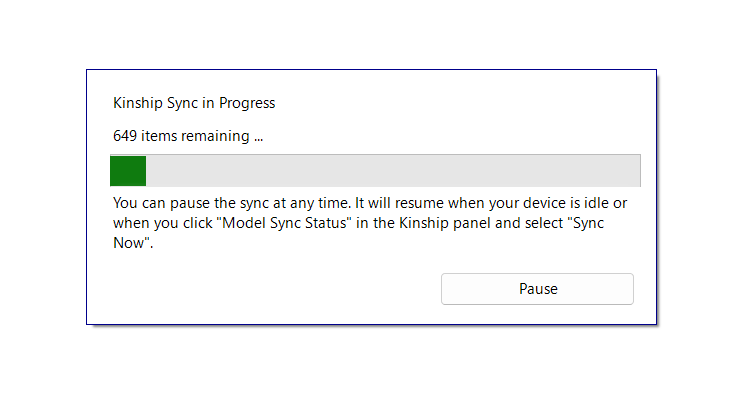
- A progress bar will appear showing the number of items remaining to be uploaded. Depending on the number of items being added, the upload process may take some time.
- If you don’t want to wait for the upload to finish, you can click the Pause button and the upload will resume in the background the next time your computer is idle.
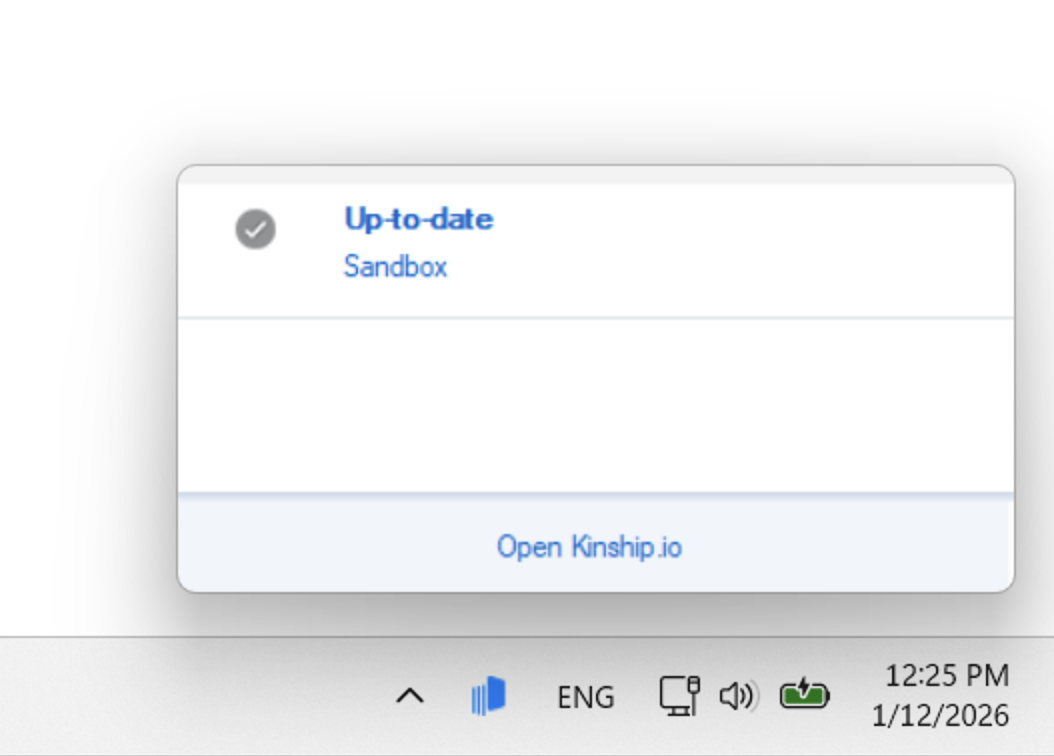
- You can check the upload progress at any time by hovering your mouse over the Kinship icon in the Windows notification area.