Customizing Thumbnails on the Web App
Follow these steps to set custom preview images for families and types.This guide assumes you only have one Revit version of the family. For multi-version content, you will need to go into the Revit Versions page and then go into the Files page within each specific Revit version you want to update.
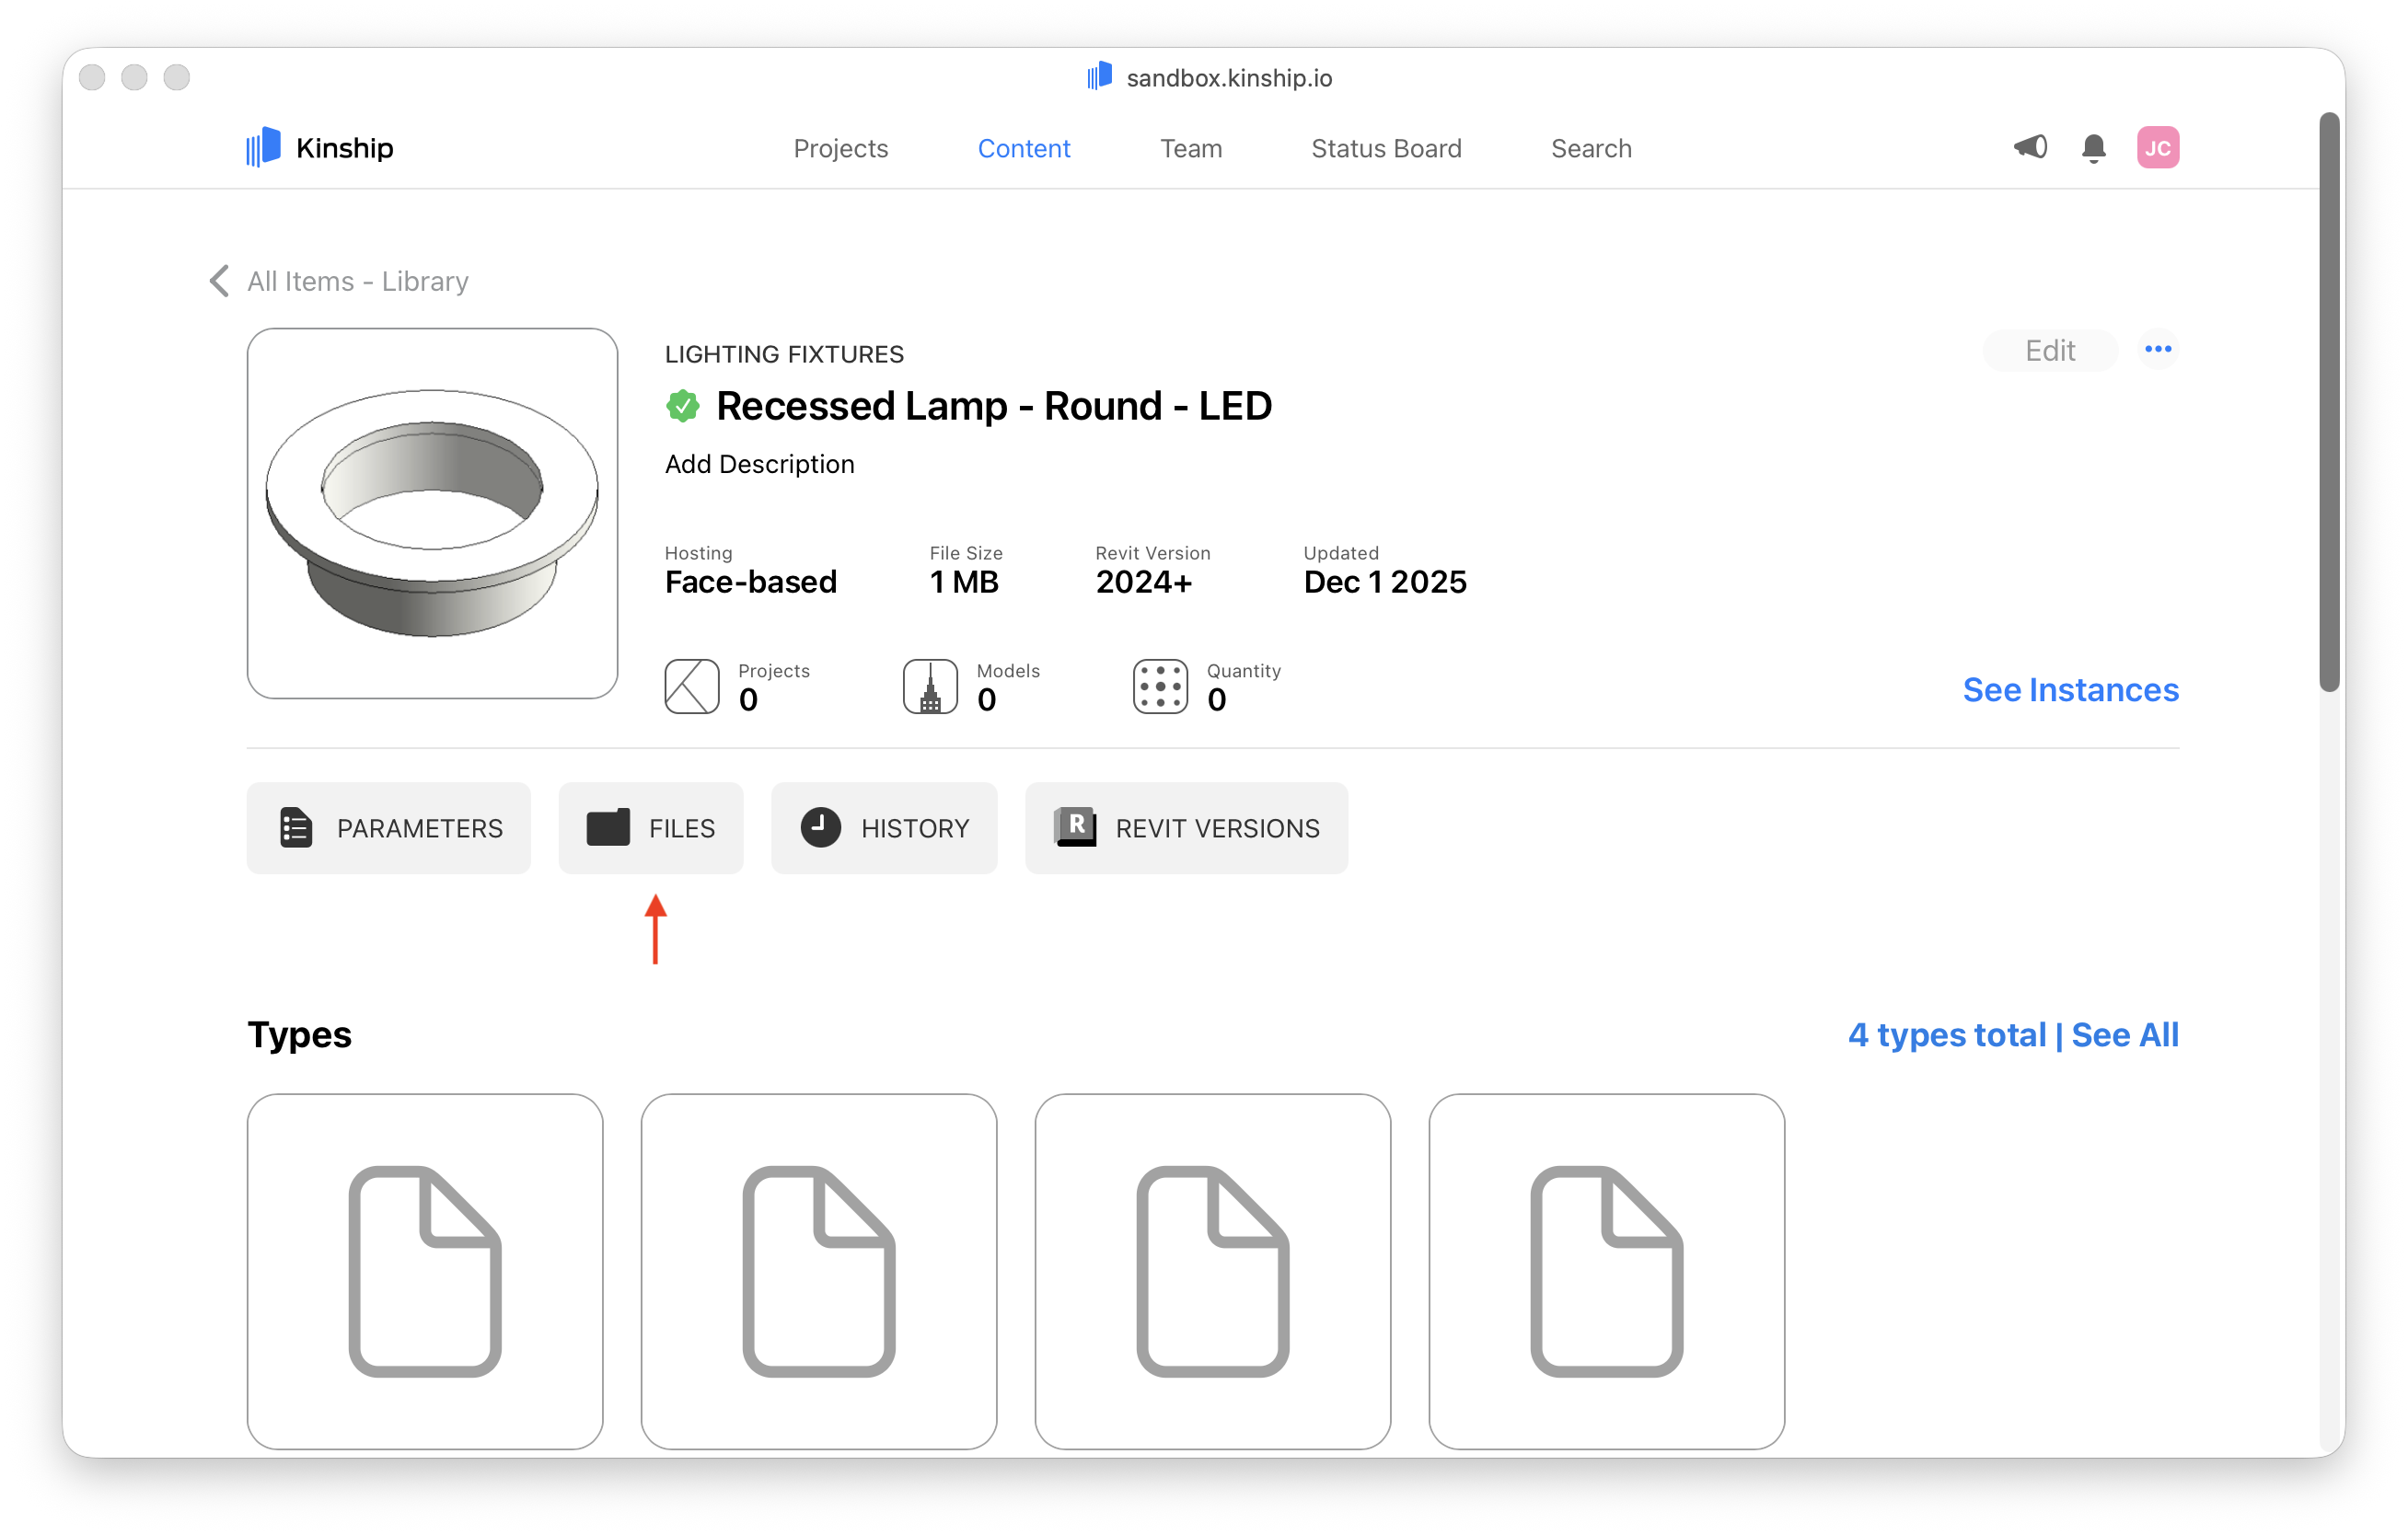
- Navigate to a family’s detail page.
- Click on Files to reveal the content files.
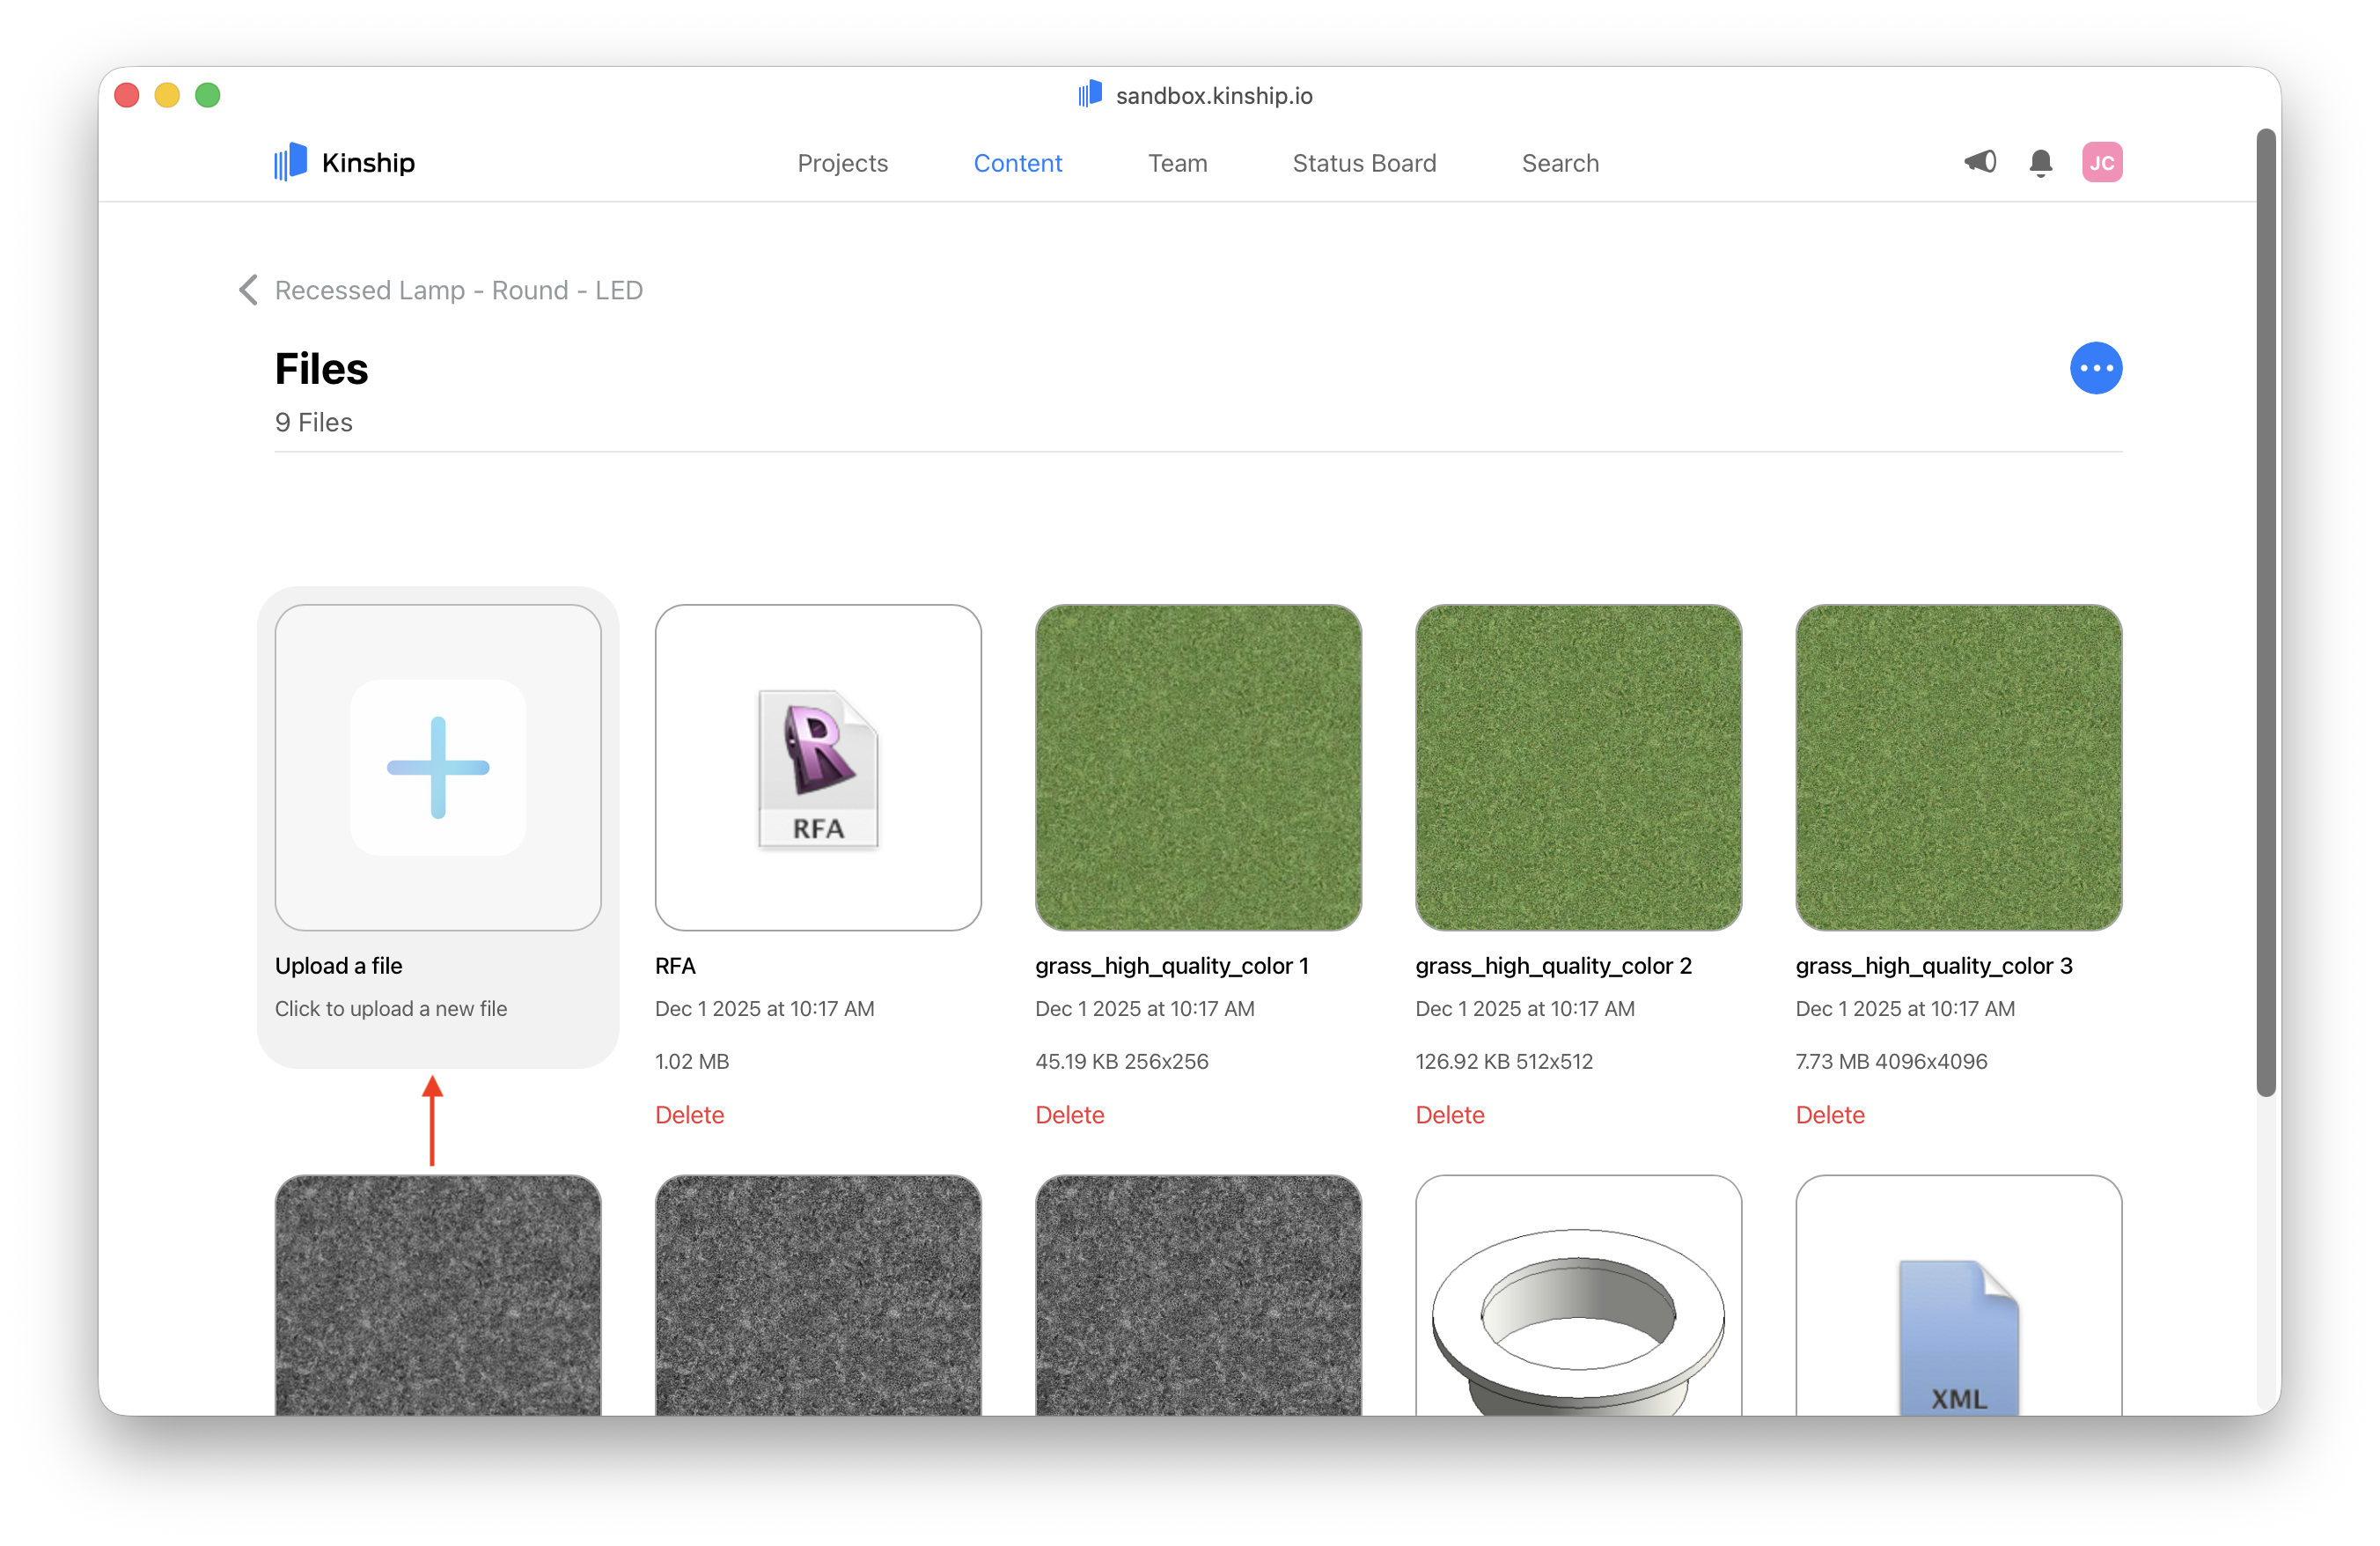
- Upload an image labelled ‘thumb’ (for instance,
thumb.png). This image will replace the previous preview image file, and the new image will be used as the preview image for the family. To use an image for a specific family type, name it using the type name.
Known Issues
Issue: When a family is overwritten, the custom thumbnail will be replaced by a new default automatic thumbnail with no way of preventing the replacement. Workaround: You can restore a previous custom thumbnail from the family’s Files page following these steps:- In the family’s Files page, click on the three-dots button in the top right corner and select Show Deleted Files.
- Find the customized thumbnail image that was overwritten and click on Restore underneath it. The page will refresh to show the restored image.
Additional Information
-
The filename uploaded as
thumbgets automatically renamed to match the family name. For instance, if you upload athumb.pngfile to a family named “Socket”, the system will rename it toSocket.pngupon download from the Family Files page. -
If you upload a custom image with a name other than
thumb, you can either Rename the file tothumb.pngby clicking on its name in the tile. Alternatively, if you don’t need to save the original family png, you can delete it. If there is only one image file for the family or family Revit version, Kinship will always use that image as the thumbnail, regardless of its filename.