- From your Revit model – Add families and other elements that exist in your current project.
- From files or folders – Add families from external .RFA files, including those organized in folders and subfolders.
Adding Content from Files or Folders
Kinship allows you to upload Revit family files (.RFA) from your computer or a network location.Adding Individual Files
- Open Revit.
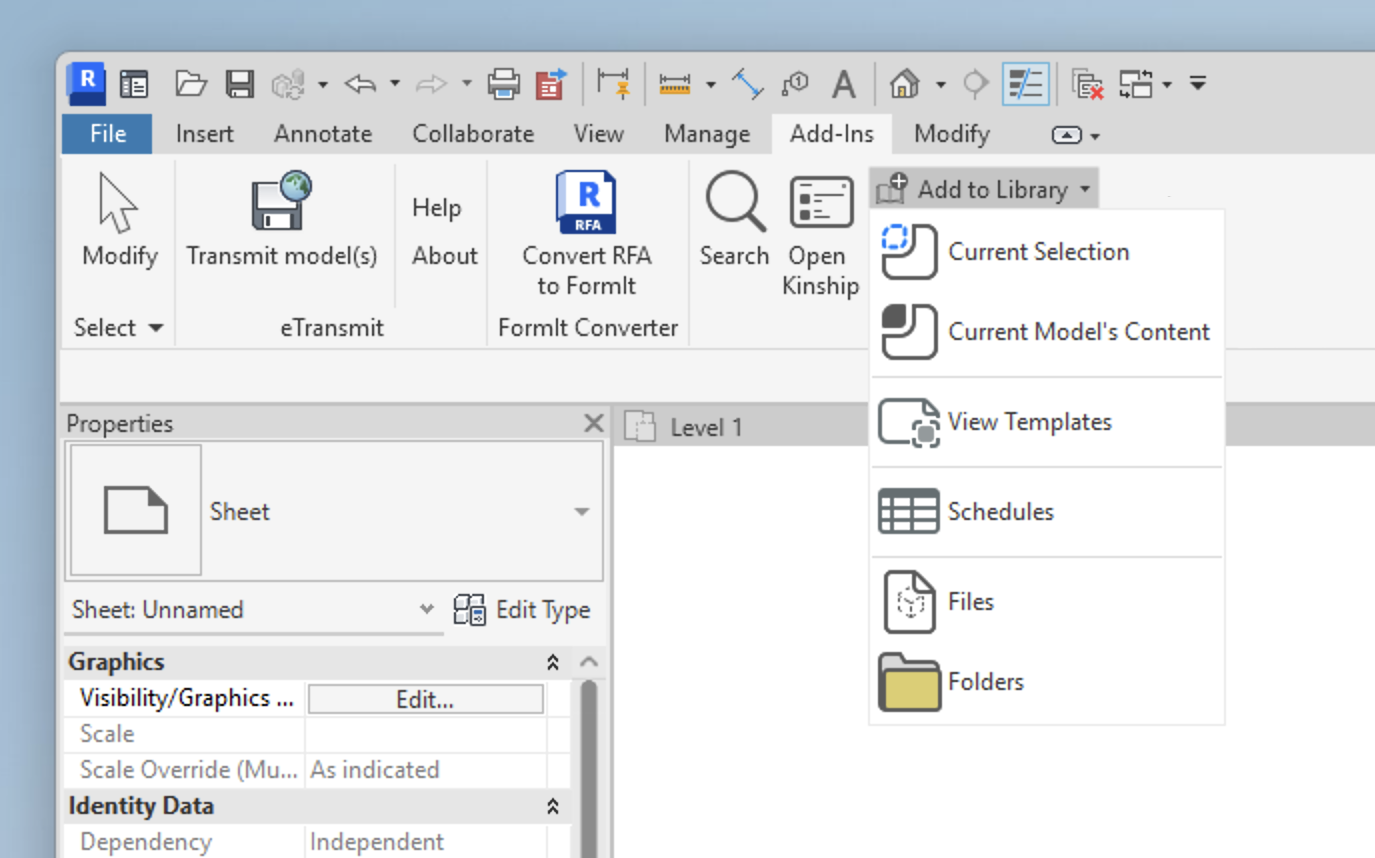
- Navigate to the Add-Ins tab and locate the Kinship panel.
- Click Add to Library.
- Select Files.
- In the file selection window, select one or multiple .RFA files (hold down the Control key for multiple selections).
- Click Open.
- Confirm by clicking Add to Library.
Adding Entire Folders
- Open Revit.
- Navigate to the Add-Ins tab and locate the Kinship panel.
- Click Add to Library.
- Select Folder.
- Choose the folder containing your Revit families (Kinship includes subfolders automatically).
- Click Select Folder.
- Confirm by clicking Add to Library.
- Kinship automatically ignores content previously uploaded unless changes are detected.
- Type catalog files (.txt) located in selected folders or subfolders will be processed automatically.
Adding Content from Your Revit Model
To add content directly from an open Revit model:Current Selection
- Open the desired model in Revit.
- Select an item placed in the model or select it from the Project Browser.
- Go to the Add-Ins tab and locate the Kinship panel.
- Click Add to Library.
- Choose Current Selection from the dropdown.
- Confirm by clicking Add to Library.
Current Model’s Content
- Open the desired model in Revit.
- Go to the Add-Ins tab and locate the Kinship panel.
- Click Add to Library.
- Select Current Model’s Content to upload all families from the open model.
- Confirm by clicking Add to Library.
View Templates
- Open the desired model in Revit.
- Go to the Add-Ins tab and locate the Kinship panel.
- Click Add to Library.
- Select View Templates.
- Select desired view templates.
- Confirm by clicking Add to Library.
Schedules
- Open the desired model in Revit.
- Go to the Add-Ins tab and locate the Kinship panel.
- Click Add to Library.
- Select Schedules.
- Select the desired schedules.
- Confirm by clicking Add to Library.
Options When Adding Single vs Multiple Items
When confirming your upload, the options will differ depending on the number of items found or selected:-
Single Item
You will see a dialog where you can rename the item, add comments, and optionally mark it as pending approval before clicking Add to Library. -
Multiple Items
You will see a dialog showing the number of items found, with options to:- Add to Library – Adds all items to your library.
- Add to new or existing lists – Create or select lists to add the items to.
Learn more about lists - Add as pending approval – Adds items for review by content managers or administrators.
Learn more about pending approval