> ## Documentation Index
> Fetch the complete documentation index at: https://docs.kinship.io/llms.txt
> Use this file to discover all available pages before exploring further.
# Connect the Kinship Revit Add-In to Your Account
> Connect the desktop add-in to your account in your team so that you can load team content, use Search in Revit, and have model activity tracked to your account
## When to use this
* You’re setting up a new machine or reinstalling the add-in.
* You need to switch which team your add-in is connected to.
* You see **greyed-out Kinship buttons** in the Revit ribbon.
***
## What you’ll need
* The Kinship add-in installed on your computer (Windows). If you don’t see the Kinship icon in the system tray, install the add-in from the **Downloads** page.
* Internet access and the work email you use for Kinship.
* (If your account exists in more than one team) permission to join or connect to the correct team.
***
## Steps
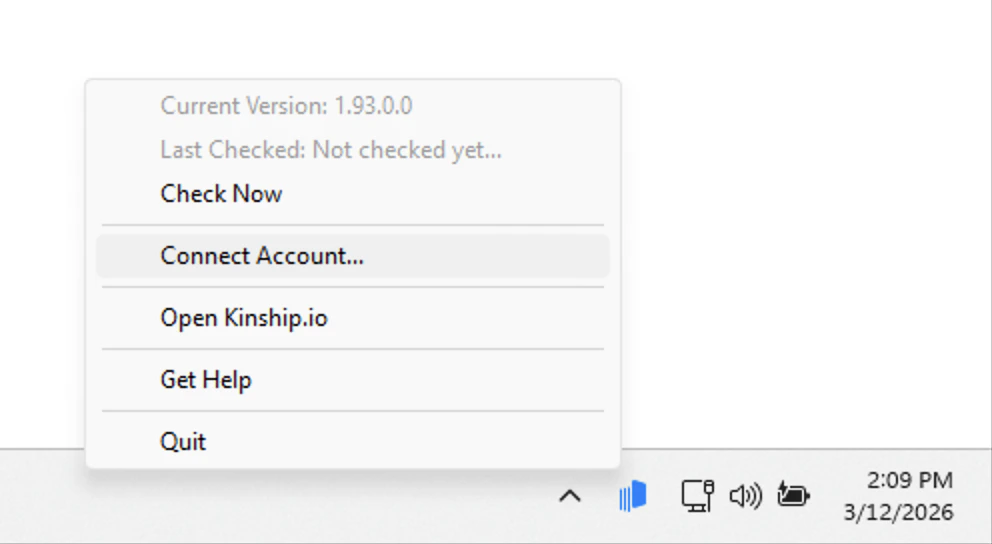
1. **Choose *Connect Account...* from the Kinship taskbar menu.**\
In the Windows notification area near the clock, **right-click** the Kinship icon to open the menu, then select **Connect Account...**.
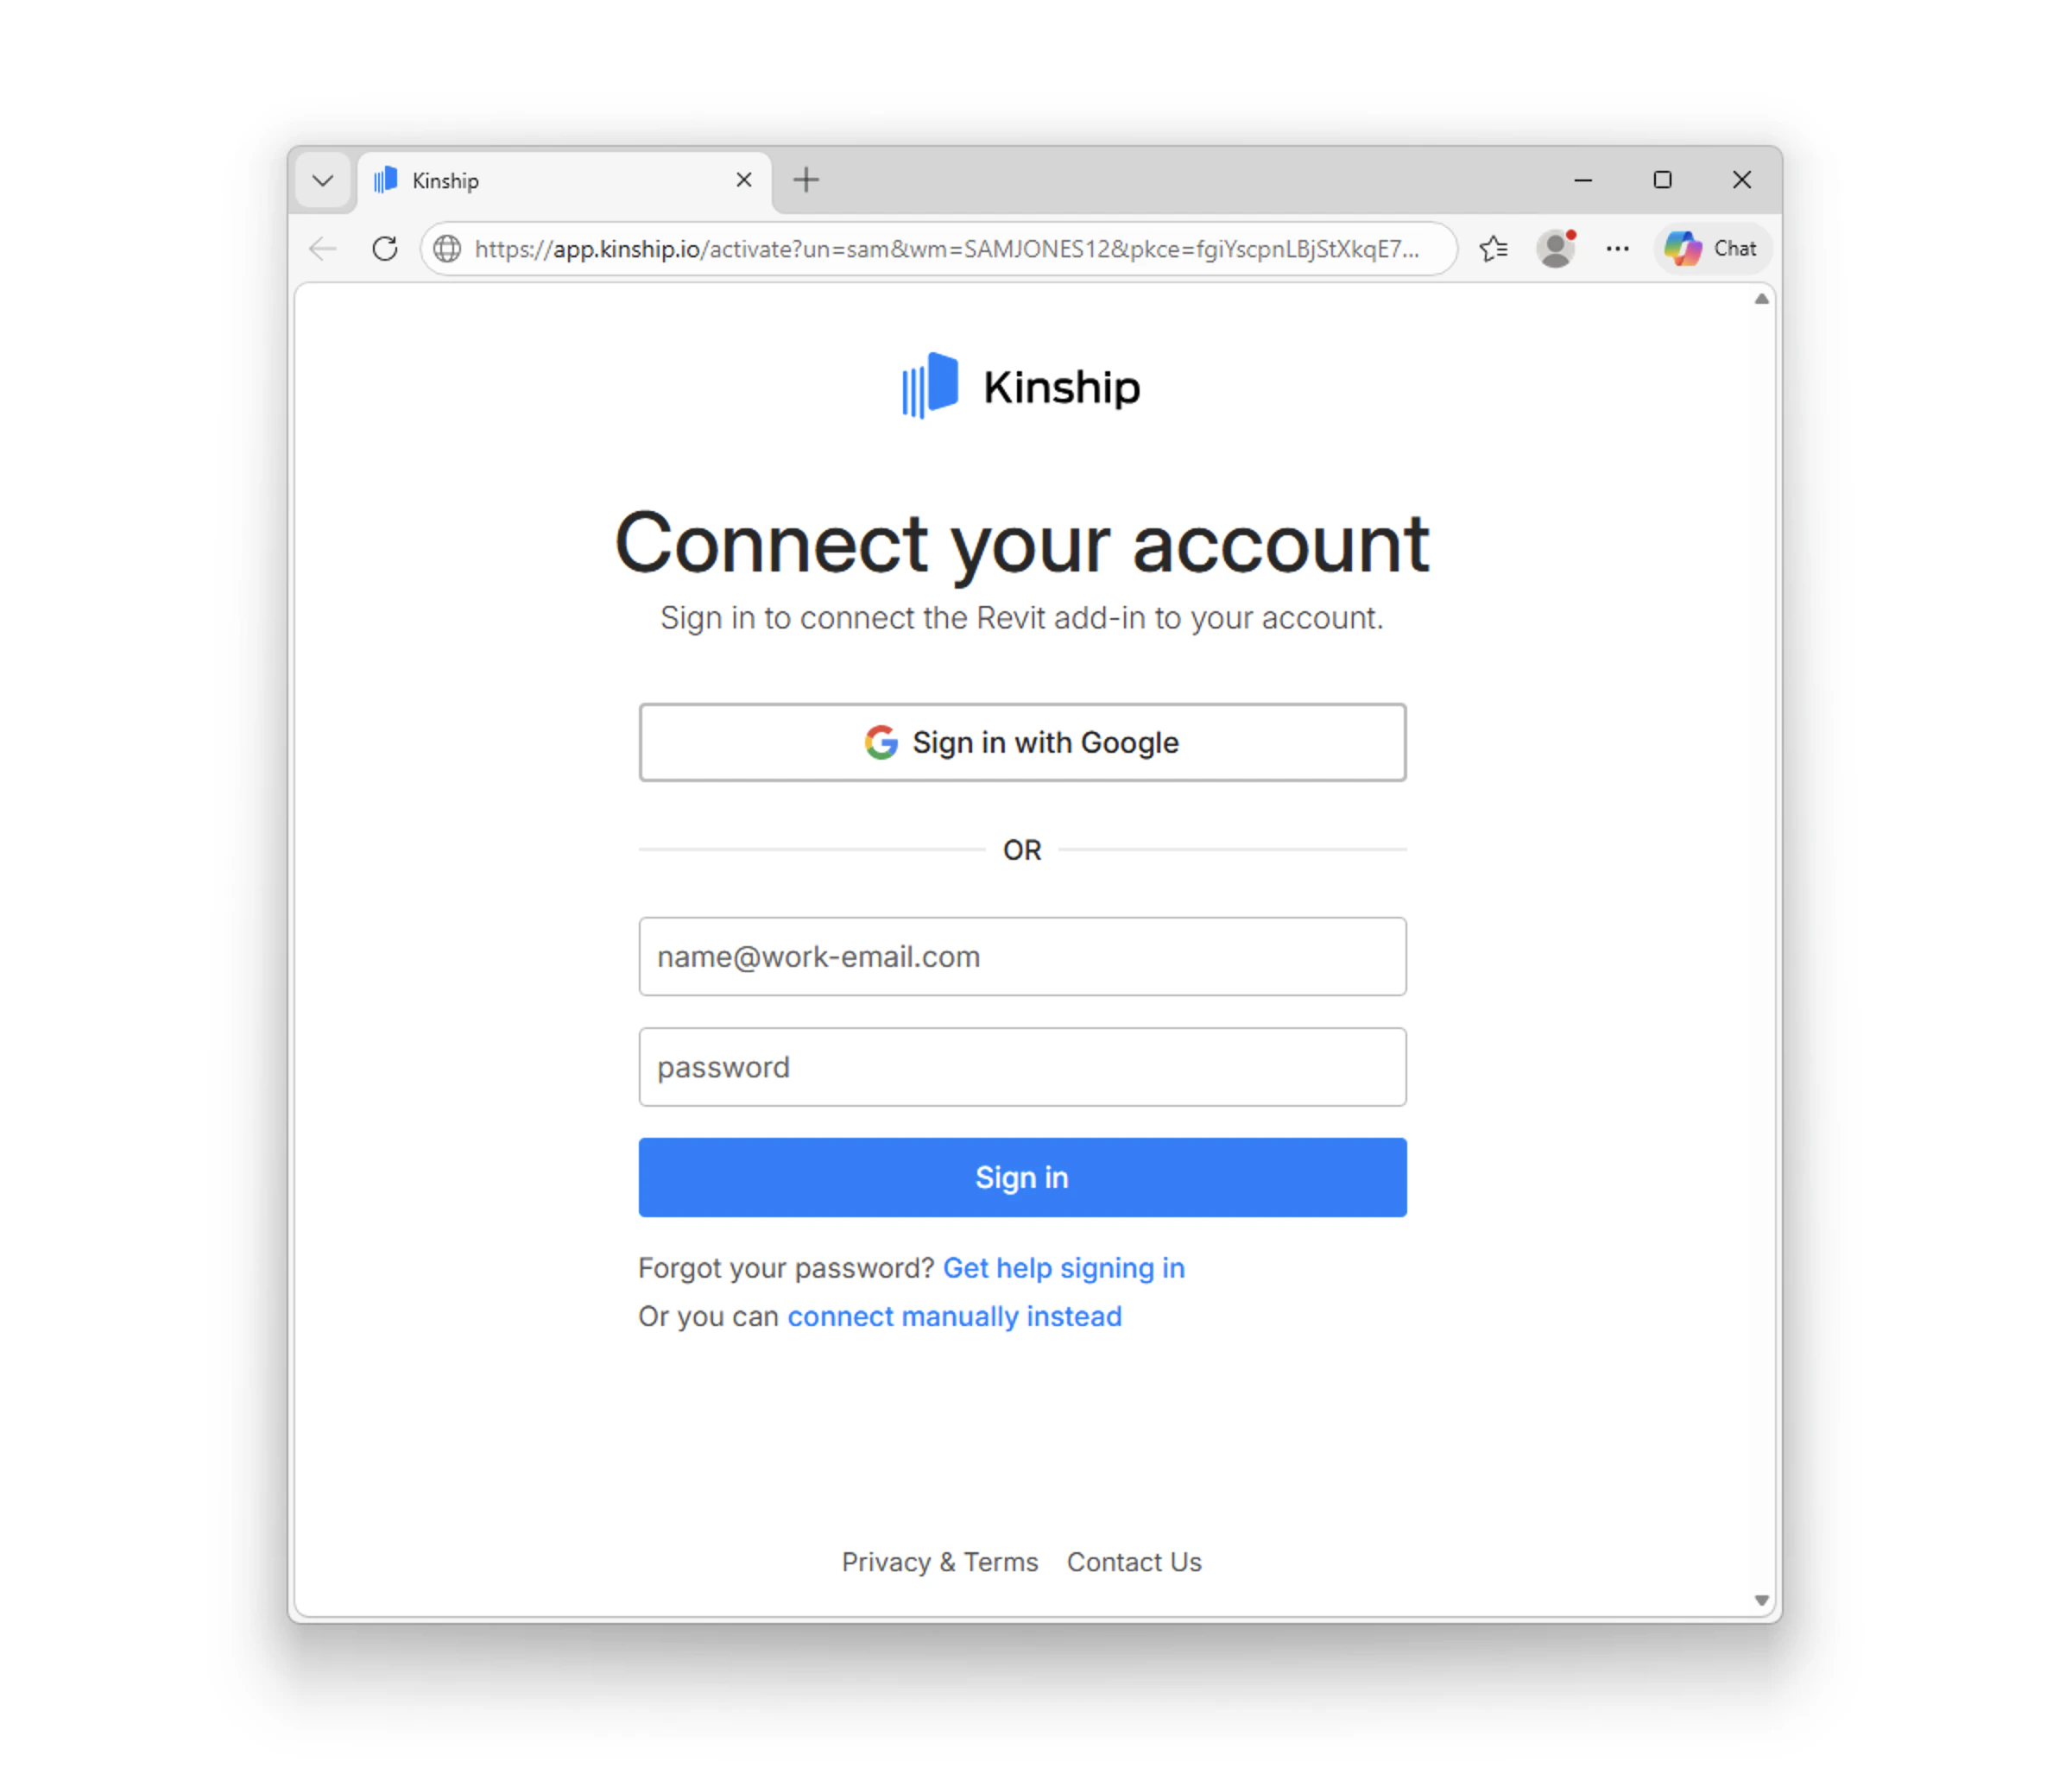
 2. **Sign in with your Kinship account details.**\
On the **Connect your account** page, enter the email address and password for your Kinship account, then select **Sign in**. For most users, this will be their work email address. You can also choose **Sign in with Google**.
2. **Sign in with your Kinship account details.**\
On the **Connect your account** page, enter the email address and password for your Kinship account, then select **Sign in**. For most users, this will be their work email address. You can also choose **Sign in with Google**.
 3. **Pick the right team (if prompted).**\
If your account exists in more than one team, you’ll see **Welcome back!** Choose **Connect** for the team you want. If you’ve been invited to a new team, select **Join**, complete the short form, then connect.
4. **Complete the process**\
You’ll see **Connection completed** with a big checkmark. Click **Get Started**.
***
## Verify it worked
Back in Revit:
* The Kinship ribbon buttons are active (no longer greyed out).
* **Search** can find and load your **team content**.
* Your **model activity** will now be tracked to your account in your team.
***
## Troubleshooting
* **I don’t see the Kinship tray icon.**\
Click the up-arrow in the Windows tray to show hidden icons. If it’s still missing, download and install the add-in from the **Downloads** page. Once the installation completes, launch Revit. The browser window asking you to connect the account should open automatically.
* **The browser didn’t open.**\
Try **Connect Account...** again from the notification area menu.
* **I don’t have an account or I don’t remember my password.**\
Choose **Get help signing in** on the Connect your account page, then enter your email address. We’ll send you a 6-character code to sign in.
* **I never got the code.**\
Check spam/junk, confirm you typed the right email, then choose **Get a new code** on the code page.
* **I’m in multiple teams and picked the wrong one.**\
Open the tray, choose **Connect Another Account...**. Then, follow the steps in this guide and select the correct team on the **Welcome back!** screen.
* **I connected the add-in, but the Load button is still greyed out.**\
Make sure you are connected to the internet. Click on the icon located on the left side of the URL in the browser and set the **Local Network Access** permission to **Allow**.
Different browsers may have different locations for this option. You can also go under site settings and set the **Local Network Access** permission to **Allow**.
* **I activated the addin but i dont see any content when i search**
When connecting to a team for the first time, a search index needs to be downloaded. Until that's done some content may not be available, this may take few minutes to complete.
* **I entered my code and now I see “It looks like you’re new to Kinship.”**\
This means Kinship could not find an account for that email address in your team. If you know your team uses Kinship, contact your team administrator. They may need to send you an invitation, confirm you are signing in with the correct email address, or share any team-specific onboarding steps.
***
## What’s next
* [Populate your Library with your content](how-to-add-content-to-your-library)
* [Add content to Collections](how-to-add-content-to-collections)
* Start using **Search** to place approved content directly in Revit.
* [Keep modeling—your work will be captured for team insights.](about-tracking-models-with-kinship)
* Invite your users to connect the add-in so everyone in your team benefits from shared content and tracking.
3. **Pick the right team (if prompted).**\
If your account exists in more than one team, you’ll see **Welcome back!** Choose **Connect** for the team you want. If you’ve been invited to a new team, select **Join**, complete the short form, then connect.
4. **Complete the process**\
You’ll see **Connection completed** with a big checkmark. Click **Get Started**.
***
## Verify it worked
Back in Revit:
* The Kinship ribbon buttons are active (no longer greyed out).
* **Search** can find and load your **team content**.
* Your **model activity** will now be tracked to your account in your team.
***
## Troubleshooting
* **I don’t see the Kinship tray icon.**\
Click the up-arrow in the Windows tray to show hidden icons. If it’s still missing, download and install the add-in from the **Downloads** page. Once the installation completes, launch Revit. The browser window asking you to connect the account should open automatically.
* **The browser didn’t open.**\
Try **Connect Account...** again from the notification area menu.
* **I don’t have an account or I don’t remember my password.**\
Choose **Get help signing in** on the Connect your account page, then enter your email address. We’ll send you a 6-character code to sign in.
* **I never got the code.**\
Check spam/junk, confirm you typed the right email, then choose **Get a new code** on the code page.
* **I’m in multiple teams and picked the wrong one.**\
Open the tray, choose **Connect Another Account...**. Then, follow the steps in this guide and select the correct team on the **Welcome back!** screen.
* **I connected the add-in, but the Load button is still greyed out.**\
Make sure you are connected to the internet. Click on the icon located on the left side of the URL in the browser and set the **Local Network Access** permission to **Allow**.
Different browsers may have different locations for this option. You can also go under site settings and set the **Local Network Access** permission to **Allow**.
* **I activated the addin but i dont see any content when i search**
When connecting to a team for the first time, a search index needs to be downloaded. Until that's done some content may not be available, this may take few minutes to complete.
* **I entered my code and now I see “It looks like you’re new to Kinship.”**\
This means Kinship could not find an account for that email address in your team. If you know your team uses Kinship, contact your team administrator. They may need to send you an invitation, confirm you are signing in with the correct email address, or share any team-specific onboarding steps.
***
## What’s next
* [Populate your Library with your content](how-to-add-content-to-your-library)
* [Add content to Collections](how-to-add-content-to-collections)
* Start using **Search** to place approved content directly in Revit.
* [Keep modeling—your work will be captured for team insights.](about-tracking-models-with-kinship)
* Invite your users to connect the add-in so everyone in your team benefits from shared content and tracking.